Getting started
Onboard to Cloudflare, choose your DNS setup type, and change your nameservers.
How does Cloudflare work?

Fundamentally, Cloudflare is a large network of servers that can improve the security, performance, and reliability of anything connected to the Internet. Cloudflare does this by serving as a reverse proxy for your web traffic. All requests to and from your origin flow through Cloudflare and — as these requests pass through our network — we can apply various rules and optimizations to improve security, performance, and reliability.
Life of a request

A website’s content does not technically live at a URL like www.example.com, but rather at an IP address like 192.0.2.1. The process of converting a URL into a machine-friendly IP address is known as a DNS lookup.
Before onboarding to Cloudflare, DNS lookups for your application’s URL return the IP address of your origin server. When using Cloudflare with unproxied DNS records, DNS lookups for unproxied domains or subdomains also return your origin’s IP address. Another way of thinking about this concept is that visitors directly connect with your origin server.
With Cloudflare — meaning your domain or subdomain is using proxied DNS records — DNS lookups for your application’s URL will resolve to Cloudflare Anycast IPs instead of their original DNS target. Thus all requests intended for proxied hostnames will go to Cloudflare first and then be forwarded to your origin server.
Onboard to Cloudflare
To get the security, performance, and reliability benefits of Cloudflare, you need to set up Cloudflare on your domain.
- Create your account — log in to the dashboard, click Add Site in the top navigation bar, enter your website’s root domain (example.com), and click Add Site.
- For your plan level, initially select a free plan so we can get your upgrade started.
- Cloudflare will automatically scan for your DNS records. Since this is not guaranteed to find all existing DNS records, carefully review your records, paying special attention to root domain records (example.com), subdomain records (www.example.com or blog.example.com), and email records.
- Minimize downtime by following our troubleshooting guide. If you activate your domain on Cloudflare without setting up the correct DNS records for your domain and subdomain, your visitors may experience DNS_PROBE_FINISHED_NXDOMAIN errors.
- If you find any missing records, manually add those records.
- Depending on your site setup, you may want to adjust the proxy status for certain A, AAAA, or CNAME records.
- Click Continue, then click Done, check nameservers.
Allow Cloudflare IP addresses

All traffic to proxied DNS records will pass through Cloudflare before reaching your origin server. This means that your origin server will stop receiving traffic from individual visitor IP addresses and instead receive traffic from Cloudflare IP addresses, which are shared by all proxied hostnames.
This setup can cause issues if your origin server blocks or rate limits connections from Cloudflare IP addresses. Because all visitor traffic will appear to come from Cloudflare IP addresses, accidentally blocking these IPs will prevent visitor traffic from reaching your application.
Choose your DNS setup type

Complete your DNS setup so your domain can begin using Cloudflare for DNS resolution.
You have two options, as detailed in our DNS setup video, but we highly recommend a full setup for security reasons. With this option, you use Cloudflare as your primary DNS provider and manage your DNS records on Cloudflare.
Change your nameservers to Cloudflare
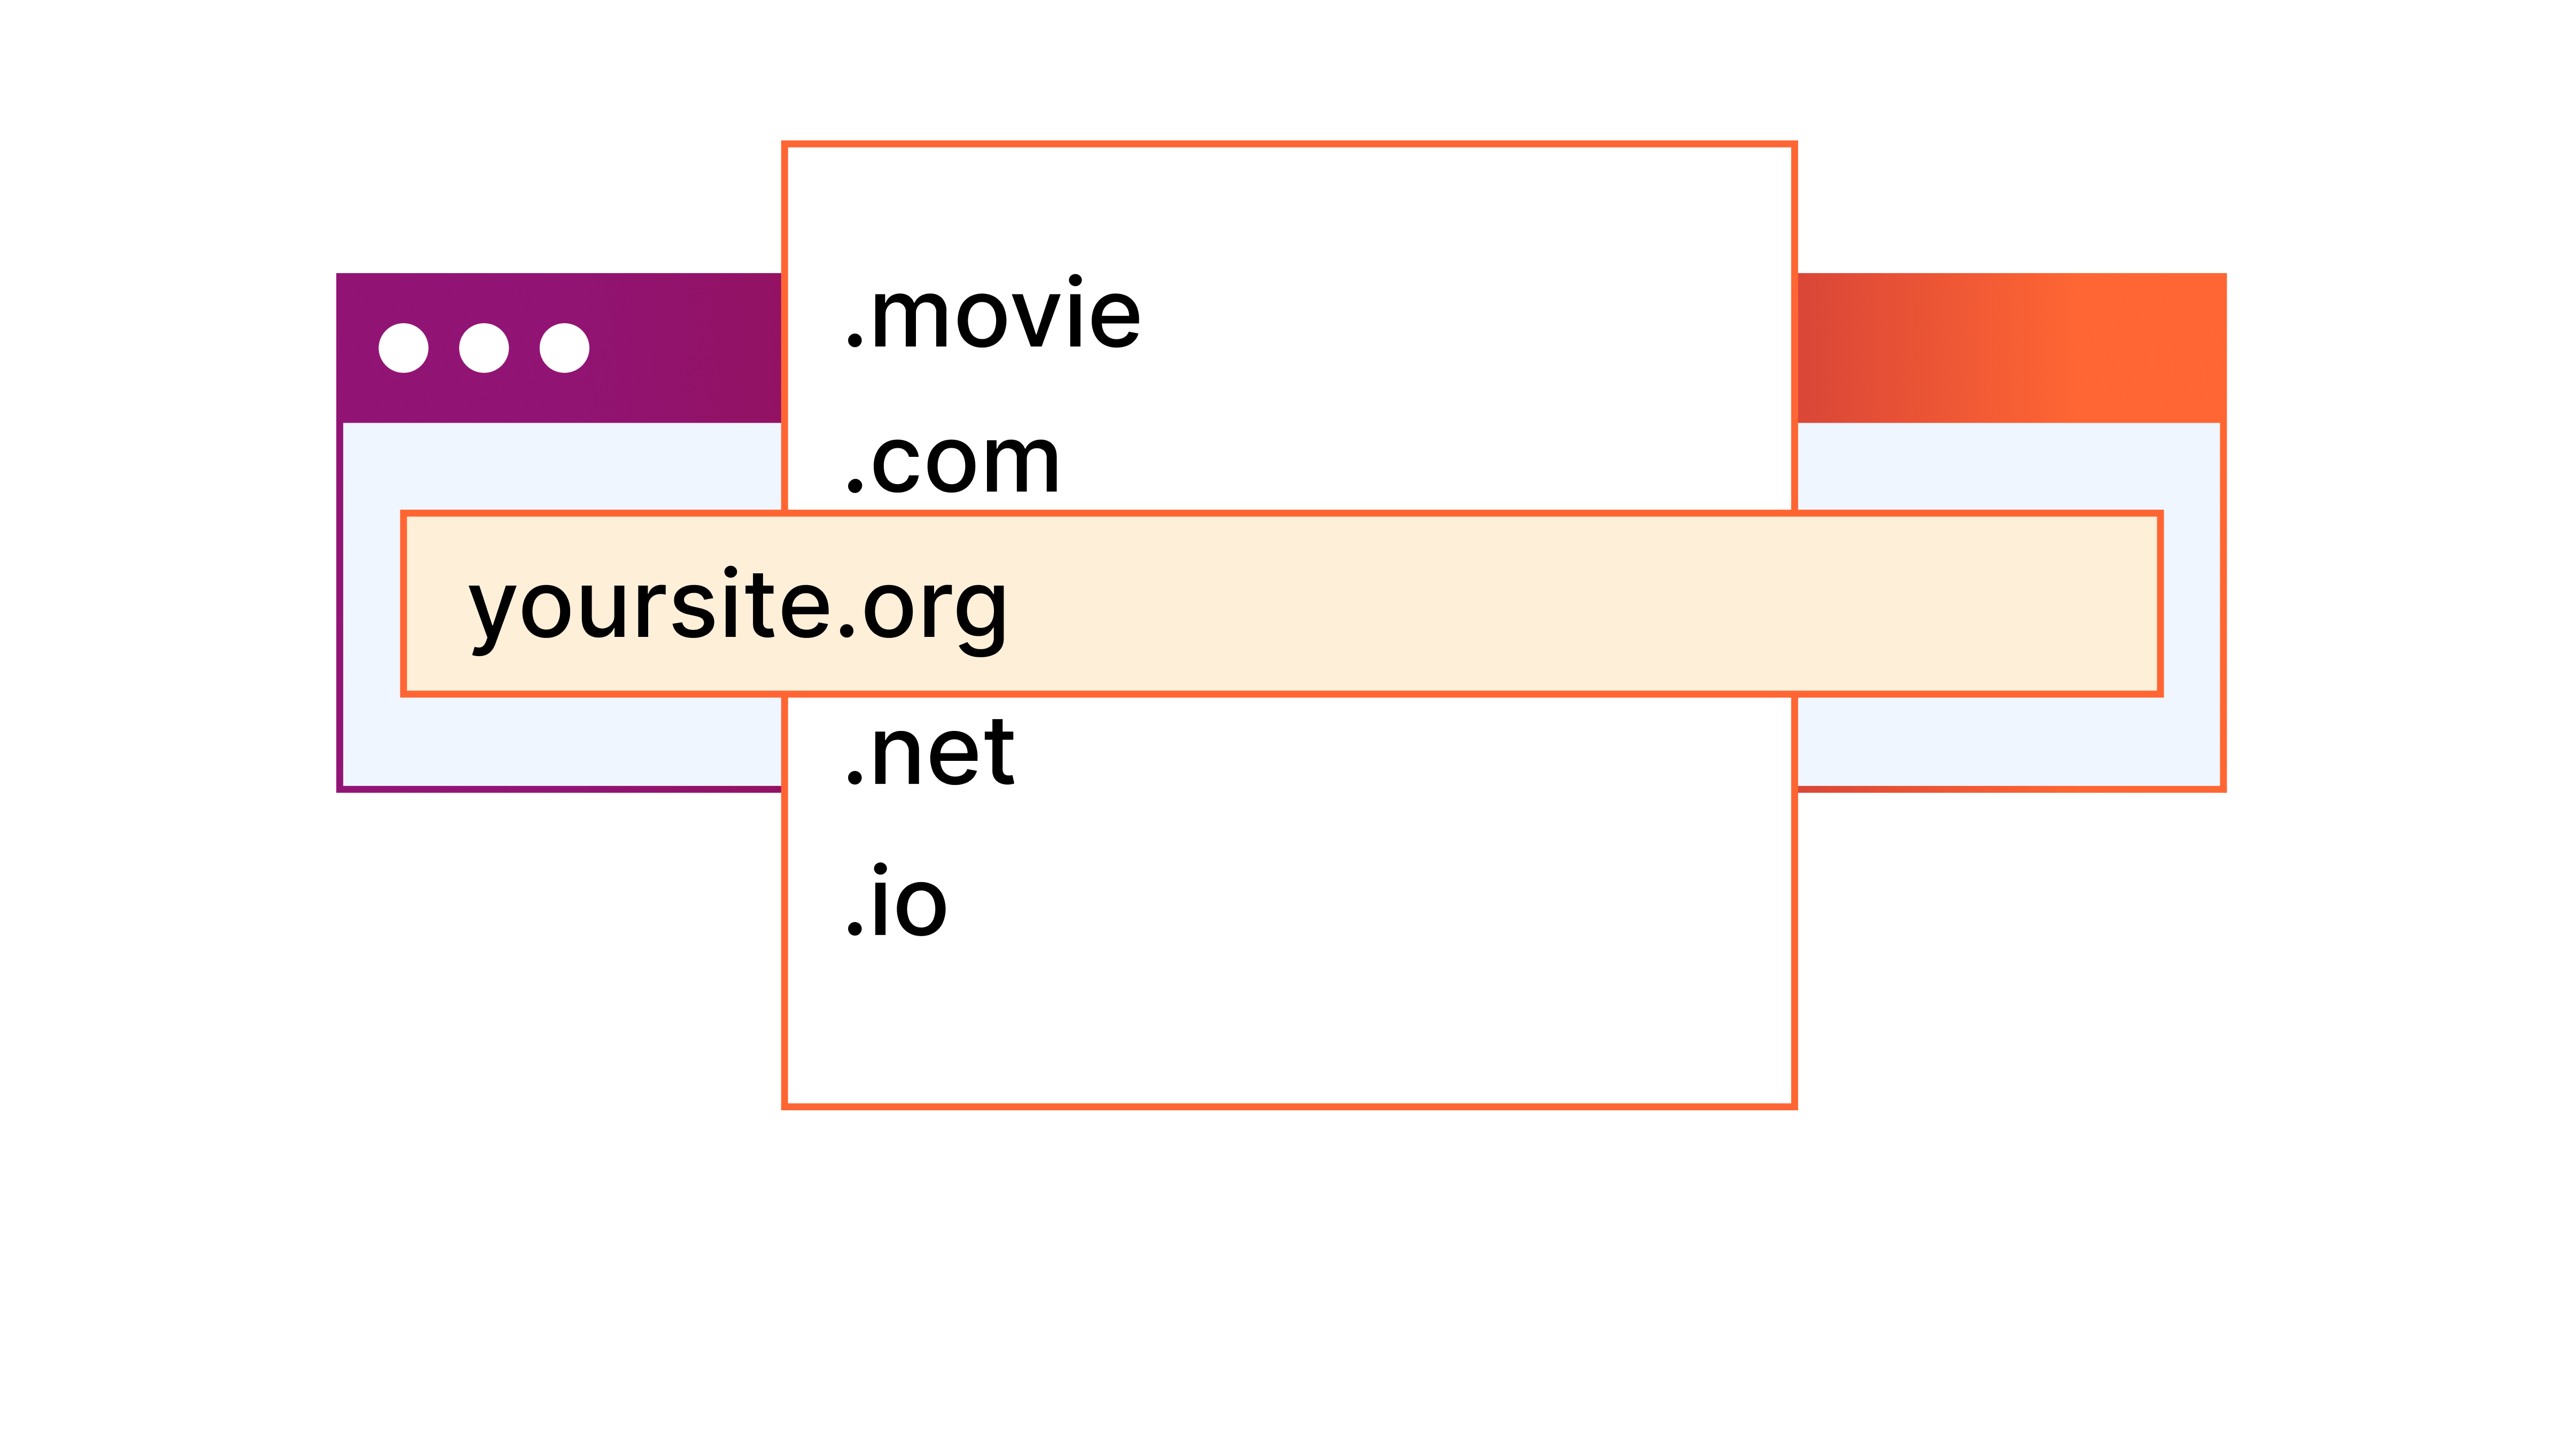
After choosing a setup, you will be prompted to change your domain servers to Cloudflare:
- Log in to your account and find the name of your Cloudflare nameservers under the Overview tab of the dashboard.
- Determine who your domain registrar is and log in to your registrar account. If you are unsure who your registrar is, look up your site using a tool like WhoIs.net.
- Next, update your nameservers to Cloudflare. Contact your registrar’s support center if you are unsure how to do this. Follow our walkthrough here.
- It can take up to 72 hours for nameservers to change over — you will receive a confirmation email. When you see your status change from Status: Pending to Status: Active, your domain will be running through Cloudflare.
Congratulations on completing the initial setup! Please make sure to contact your Cloudflare representative and let them know your account is set up so we can upgrade your plan. This will give you access to more products and features.
In the meantime, check out our video on how to run a Cloudflare account security health check. This will help you get the most out of your plan.